

I’ve been wanting some new brand photos for a long time.. pretty much forever, actually, so I set out to shoot my own brand photos with an iPhone 6 and no fancy equipment. Custom business headshots are a great way to tie all your branding together online and look awesome. 😉 I haven’t really ever done official headshots for my business and instead have just used selfies and other random pictures over the years. I actually got some free headshots done last fall at a startup event, but I didn’t really like how I looked in them (awkward angle) so I decided to take my own photos instead.
How I Took Brand Photos with an iPhone
Ironically, I actually have a nice camera (her name is Nikita! She’s the Nikon D3200 if you’re interested :)), but it’s at home 1,000 miles away and I didn’t want to risk breaking the lens in the mail, so I decided to just suck it up and finally shoot some brand photos just using my phone. iPhones and other phones are actually capable of taking nice pictures, but usually our selfies end up something like this… 😉
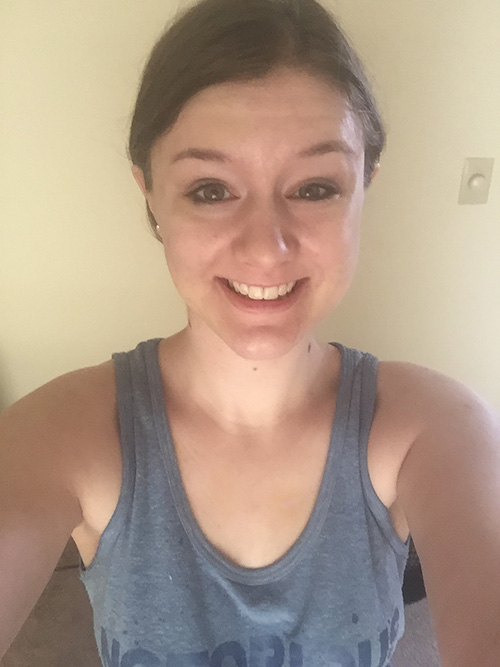
This is a test photo I did before I did my hair or makeup or anything just to see how the lighting was. When dealing with the camera on your phone, having good natural lighting is key to keeping the quality as high as possible. In this photo, it’s pretty grainy and blurry because there isn’t quite enough light, and a big one – I’m using the front-facing selfie camera. If you want to shoot the highest quality photos possible, use the camera on the back because it’s much better quality than the one on the front designed for selfies. That means we’re going to have to MacGyver some sort of tripod and use the self-timer feature on your phone.
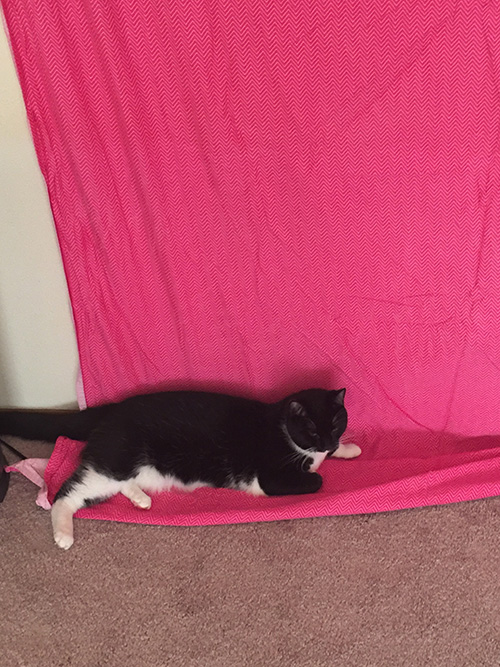
Misty helping her Mommy with the photo shoot.
Here’s my cat Misty trying to help me with the photos shoot. After taking test shots around my apartment, I determined that the best lighting was in the living room with the curtains open. In this case, the light is coming in in front of me (and another window with a little bit of light to the side of me). Lots of natural light is good, just make sure you aren’t directly in the sun and squinting and getting awkward shadows. 🙂
For a backdrop, I took a colorful sheet that matched my brand colors and hung it on the wall with a couple pushpins and a safety pin in the middle stabbed into the wall haha.
Branding Tip: Use colors in your headshots – your backdrop, props, or outfit – that match your brand colors.
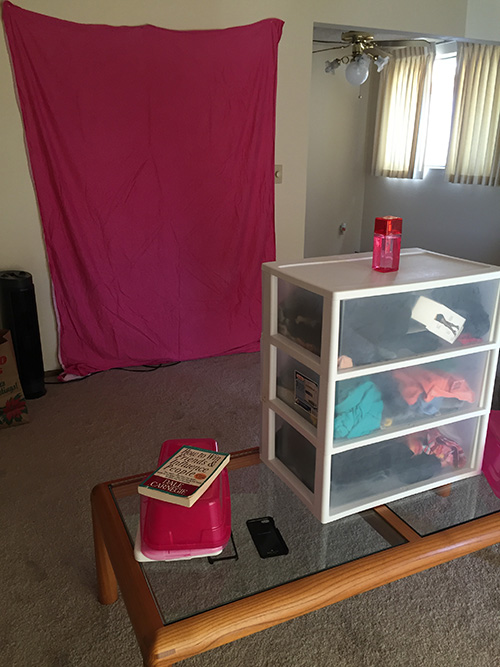
Here’s a view of the setup I did with the backdrop and where I set up my iPhone. Basically I have the sheet hanging on a brightly lit wall (looks better in the actual photos) with a coffee table and Sterilite drawer things (why, yes, that is a box of panty hose in the top drawer) stacked on top of that. Then top prop up my camera I used a rectangular body spray bottle and put it in FRONT of my iPhone and leaned my phone against it vertically.

Here you can see another view of the setup. There’s a window on the side providing more light for the setup although the lighting looks weird in this photo. I tried using a few boxes and books and things to stack my iPhone on top of but some of them were visible in the picture so it didn’t work. When I say the perfume bottle was in front of the phone, it was still not in the frame of view. It was just there to hold up my phone vertically. Some people recommend doing horizontal photos so you can use them as a large banner type of photo on your blog, but I really just wanted a square headshot (after cropping) to use on all my social media profiles. Just put your phone on a 10 second timer, click the button, and then go run in front of your backdrop for each new shot. 🙂 I like to check the pictures in between to see if I need to make any adjustments or stand differently.
Here’s what the photos looked like out of the camera when I shot them. The phone was angled a little weird so there was a gap at the top, but I just cropped the final photo into a clean little square. You can’t really tell in the picture, but because of the angle I was shooting at, I was actually bent over a little and sticking my face out so I wouldn’t get a double chin because the camera was lower than my head. I do still have a bit of a double chin in the pictures though. Oh well haha.
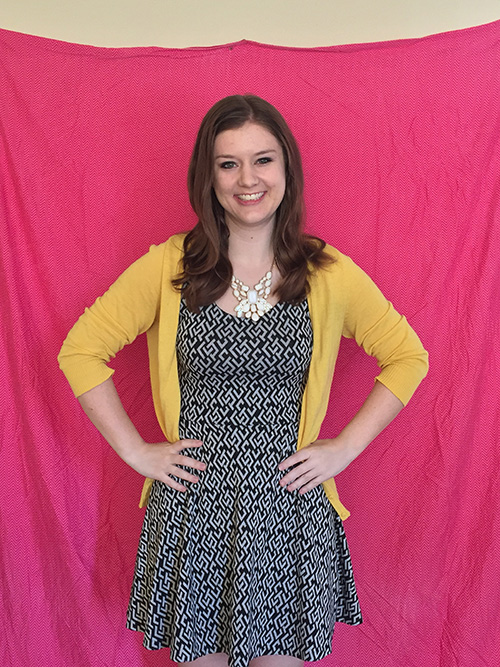
The sheet in the background is kind of wrinkly so if you want a smoother surface, then steam or iron your sheet or use an actual photo backdrop or poster board instead. Here’s what the final photo looked like after I cropped and edited things:
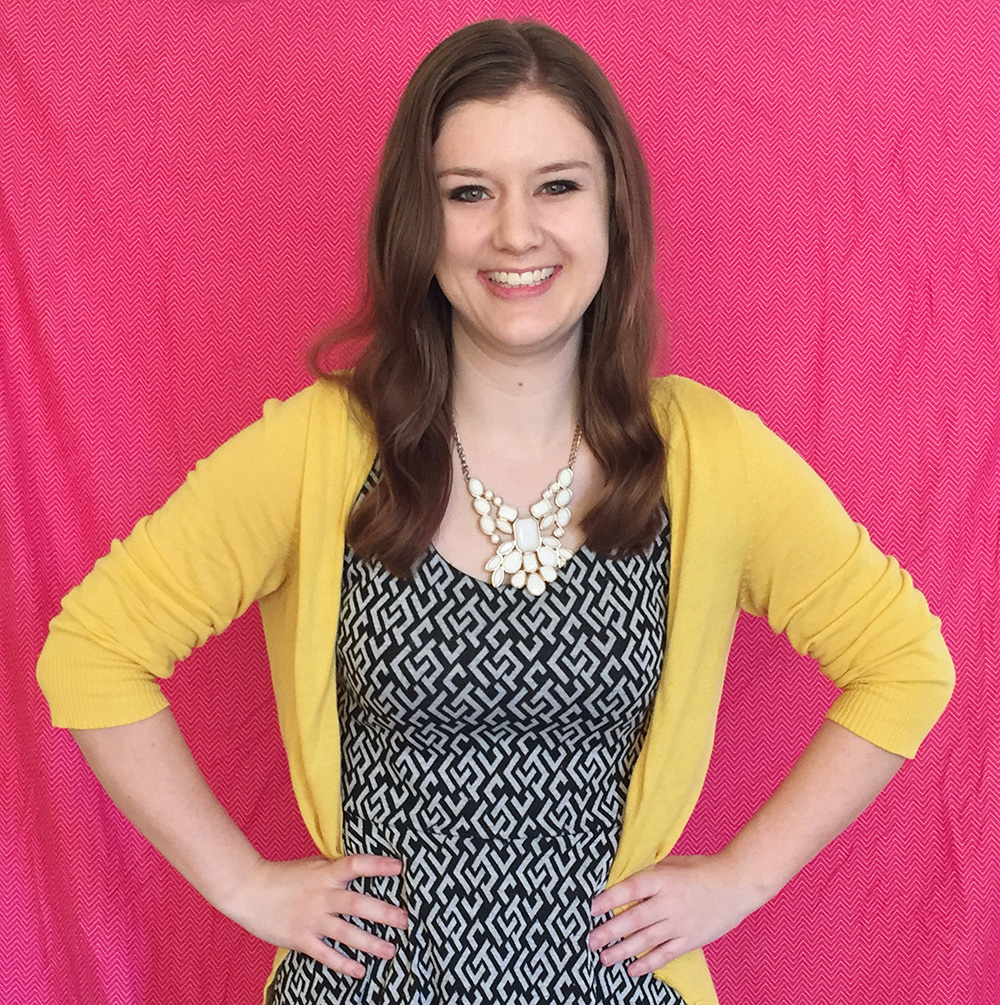
I wanted a fun, happy, smiling picture to use as one photo across all my profiles, and I got it. 🙂 The bright colors match my logo and branding and the black and white outfit pieces are a neutral accent (wouldn’t want to wear /all/ my brand colors at the same time ;)). I did my hair and makeup myself and just had my hair in a bun in the morning to get the subtle waves. As far as editing, the lighting was pretty bright already but I just brightened things up a little more in Photoshop.
That’s it!