
If you’re wondering how to create multiple Pinterest images for a single blog post but hide most of them, here’s a quick and easy tutorial for how to hide a Pinterest pin image in a blog post.

How to Hide Pinterest Images in Your Blog Posts | Make Hidden Pinterest Images
First, I’d recommend having at least one of your Pinterest images visible in your blog post along with share buttons (such as Social Pug at the top of the post or a Pin It button plugin to pin an individual image) so you can encourage people to share your blog posts on Pinterest.
Related Pinterest Post: 7 Reasons to Hire a Pinterest Manager
But if you’re like me and you want to test a whole bunch of images and end up with like 5 different Pinterest images for one blog post over time, then you’ll probably want to hide the other Pinterest images so your blog post doesn’t look super cluttered.
The EASIEST way to hide Pinterest images on WordPress is to add a little bit of code around your image. (Some may argue that hiding images isn’t the most Google-friendly approach, so you can instead choose to use a paid plugin like Tasty Pins that makes hiding Pinterest images more SEO-friendly).
The code to hide Pinterest images in a blog post:
<div style="display: none;"> IMAGE CODE HERE </div>Ok, so first you’ll want to upload your pin image to your WordPress post. If you’re hiding it, then it doesn’t really matter where in the post it is, but I usually just pile in a bunch of extra pins at the end of a blog post and hide them afterward.
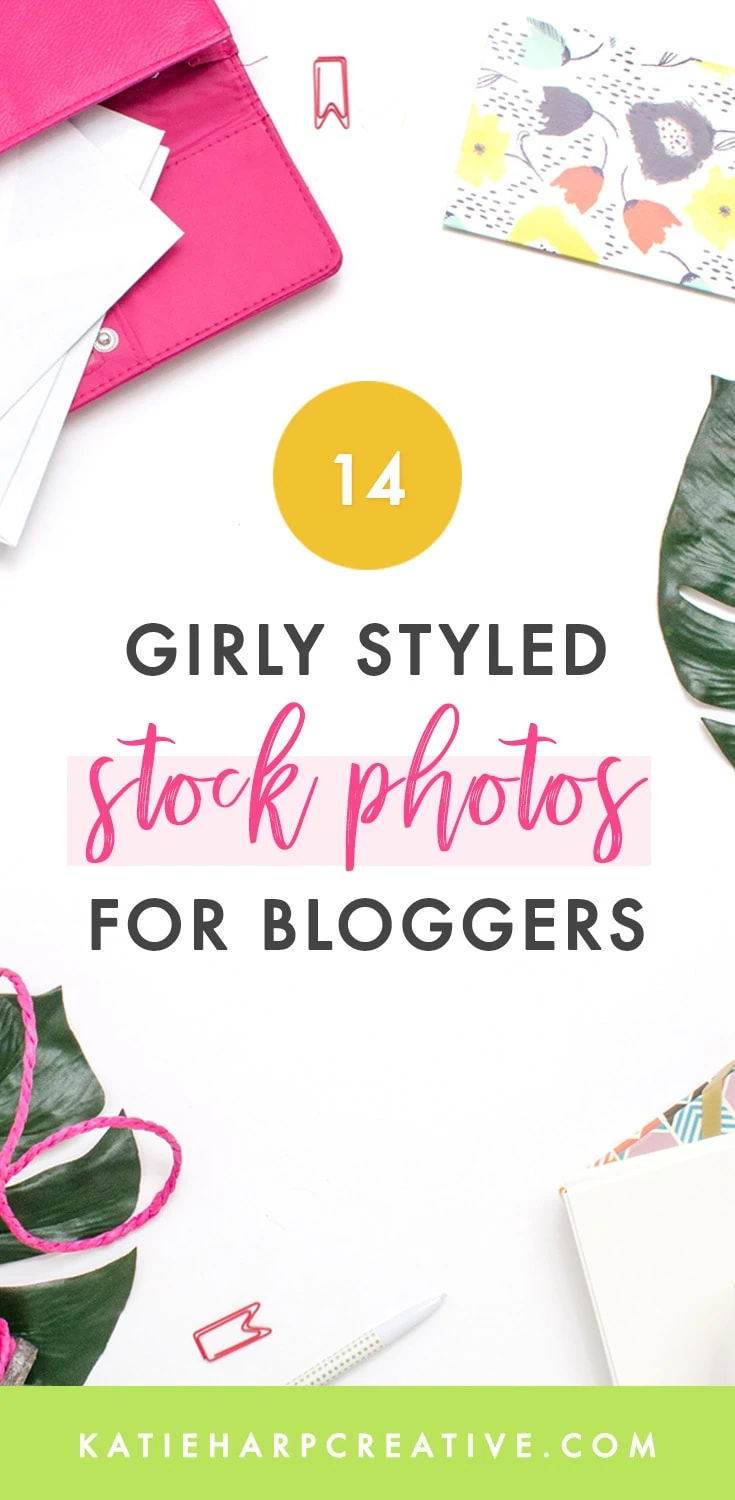
Here’s an example of a vertical pin image I might want in a post:
Once you upload your image to the blog post, go into the code editor for WordPress and look for the code of your new image. It might look something like this:
<img src="https://katieharpcreative.com/funimage.jpg">And then you add in the code from above, with the first part IN FRONT OF the image code, and the last part AFTER the image (basically you’re wrapping the whole image code, front and back).
So the final code would look something like this:
<div style="display: none;"> <img src="https://katieharpcreative.com/funimage.jpg"> </div>You can copy and paste the parts of the code, but make sure all the characters are exactly the same and that the quotes haven’t been changed – sometimes copying and pasting quotation marks can actually turn them from ‘straight’ quotation marks into ‘curly’ quotation marks (sometimes used in Microsoft Word).
And you’ll want to make sure you’re in the code editor for editing your blog post and not the visual editor. 🙂
Good luck with hiding pin images!